Listify comes packaged with over 500 custom icons that can be added to certain elements of the theme. All menu items in the Primary, Secondary, and Tertiary menu locations can be appended with one of these custom icons.
Choosing an Icon
First you need to decide which icon you want to use for the menu item. View a full list of available icons and find the icon you want. Once you have located your icon, copy the text in the “Classname:” input field. It will be something similar to ion-alert.
Allow Menu Items to Have a CSS Class
By default WordPress menu items do not have the ability to add a custom CSS class. To enable this, visit your WordPress dashboard. Then click “Appearance” then “Menus”. On the top right of the screen click “Screen Options”. Once the options are expanded click “CSS Class”
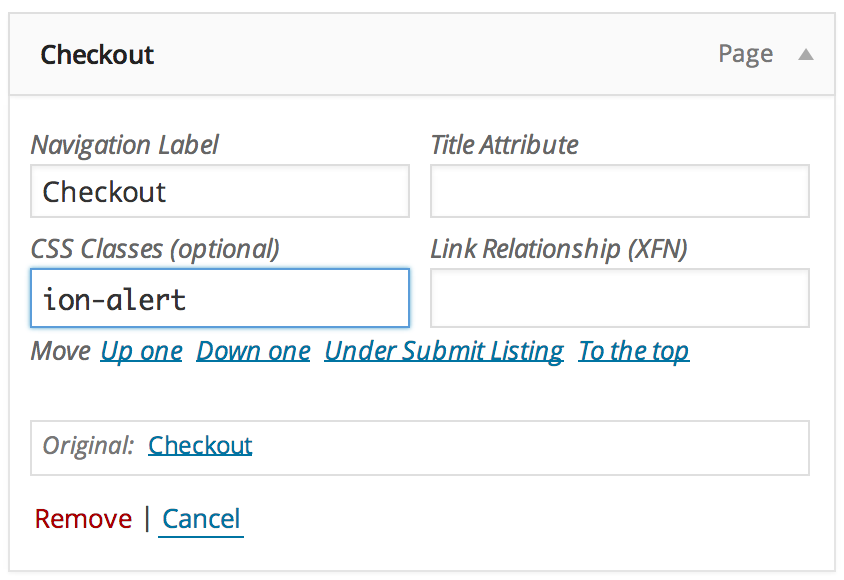
Add a Custom CSS Class to a Menu Item
Once you have found your icon CSS class name and enabled custom classes for menu items, all you need to do is paste the classname in to the field.
Further Reading:
- Menus Screen (WordPress.org Codex)